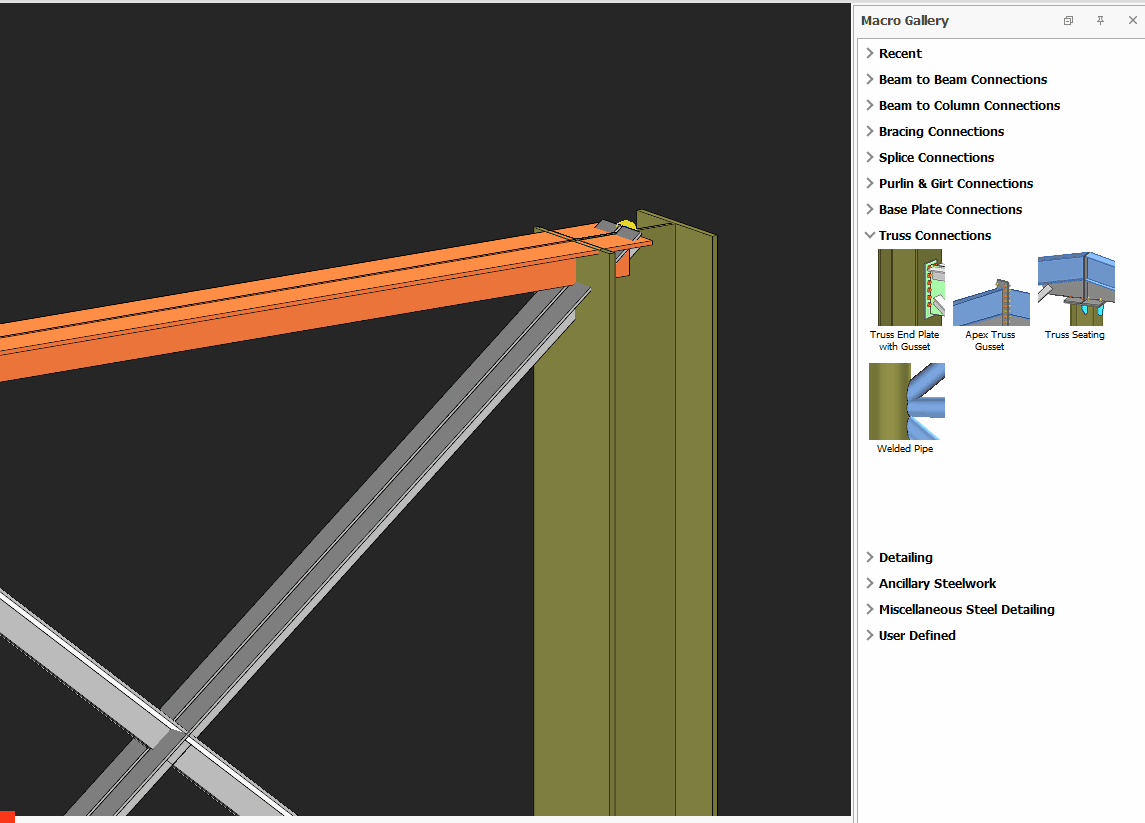
Truss Seating Connection Macro Example Psteel 2022
In ProtaSteel, truss top chord and diagonal members can connect to column with Truss Seating Connection Macro.
How to use:
- Click the "Truss Seating Connection Macro" icon.
- Select the column.
- Select the top chord member of the truss.
- Select the diagonal member.
- Right-click. The connection will be inserted.
If there is a truss on the other side of the column also, select step by step first truss members and other truss members.

- Click the "Truss Seating Connection Macro" icon.
- Select the column, top chord member and diagonal member on one side by following sequence.
- Repeat step 2 for the members on the other side.
- The connection will be automatically inserted.
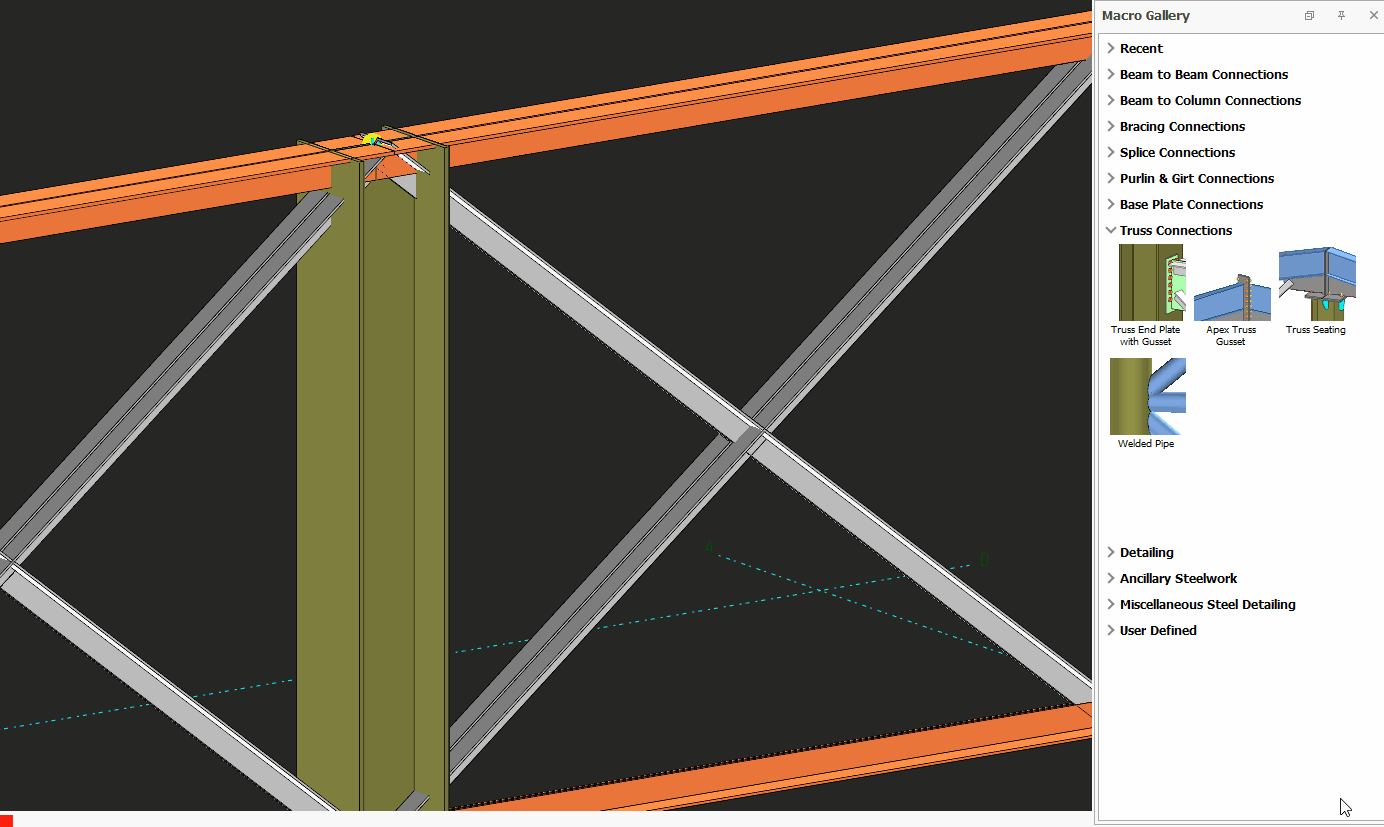
Working Principle of Truss Seating Connection
The truss member profilers need to approach the column from the flange side.
The main member has to have I or Cross (HAC) profile sections. Secondary members can have L, U, or Twin sections.
Connection properties can be changed on the macro properties window. Select a member of the connection and press M+Enter on the keyboard. The created connection can be saved on the presets tab.
Bolt assemblies, hole tolerances, and inner bolt distances are chosen from the bolt tab in the project preferences located under the "FILE" menu.
Before using the macro, macro properties can be changed in the Preferences file.
You can save the macro settings as "presets" thus creating your own company standards. After saving these presets you can recall them by using the "load" button inside the "Macro Preset" tab of the macro.

- Create the most appropriate View first before creating the connection. The same view & orientation will be used to produce the drawings. Click this topic for more details: Creating Views
- Press F9 on the joint to set the point of interest. The view will then rotate about the point of interest