Working With Claddings 8 7 2021
In ProtaStructure, claddings can be inserted on purlins or girts. The function of cladding is easily apply area loads, such as roof or wind loads.
The boundary of the cladding can be flexibly edited. The area loads will be automatically decomposed as line loads on the purlins and girts.
Insert new Cladding
To insert new claddings:
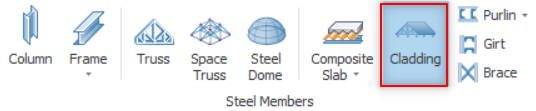
- Click on the "Cladding" button in "Modelling" tab or you can use command line at right bottom corner.
- Click the girt or purlins.
- Cladding dialog will be loaded.
General – Geometry
The interface of the Geometry tab is as shown in the figure below:
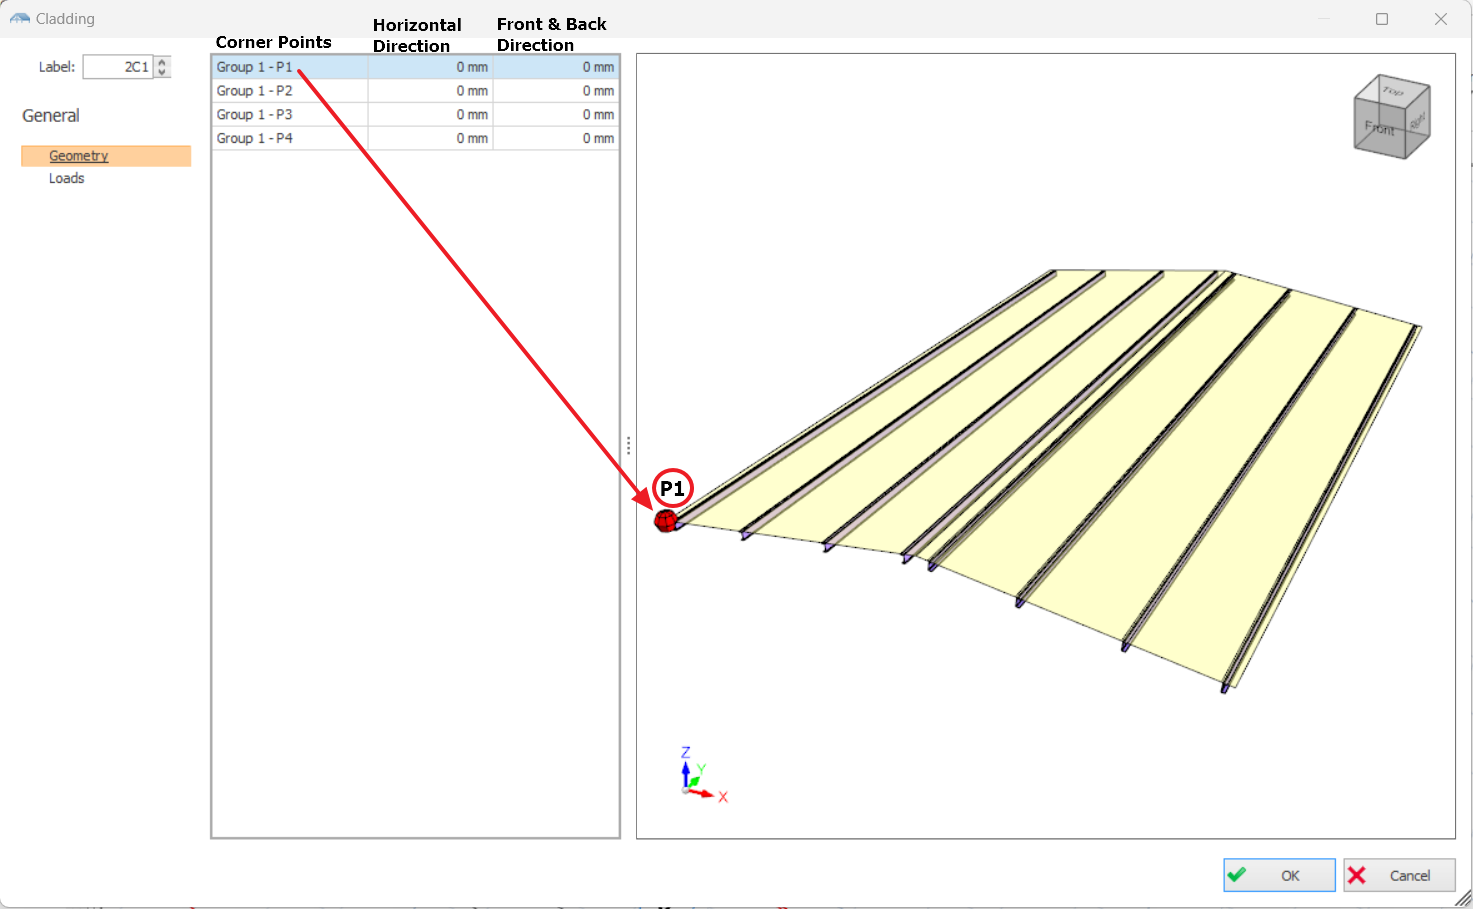
Geometry of the cladding can be changed by adjusting the values of vertical direction and horizontal direction.
For example, enter -800mm in horizontal direction of P1 to extend the cladding by 800mm to the left and -800mm in the front direction to extend the cladding to the front by 800mm.
General – Loads
The interface of the Loads tab is as shown in the figure below:
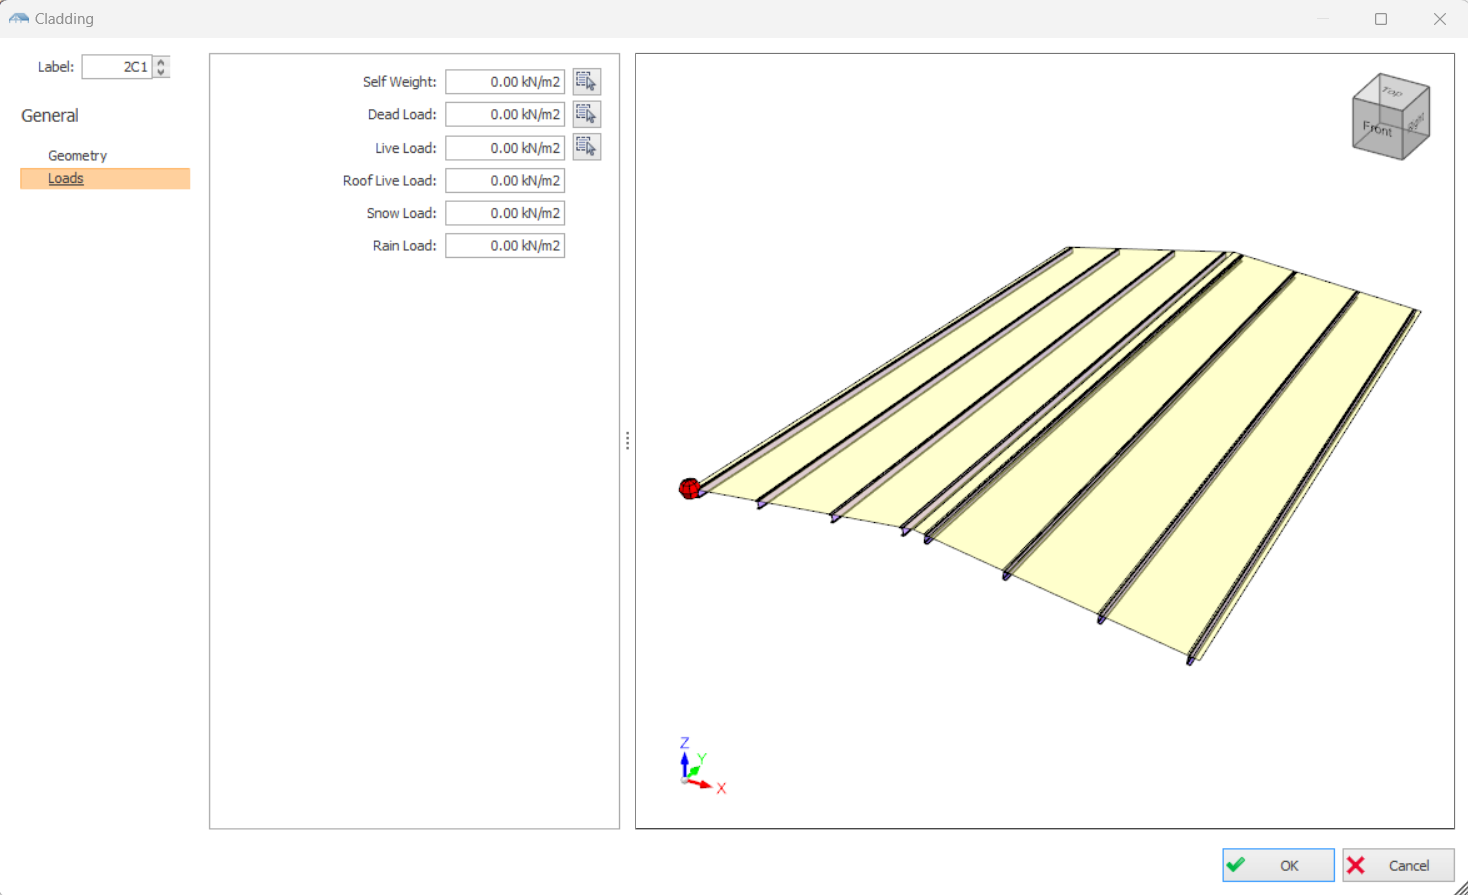
In the Loads Tab, you can directly assign area load on the claddings.
Self-Weight: Enter the self-weight of the cladding in this field. The self-weight will depend on the type of the cladding profile. By clicking the small button next to Self-Weight field, you can access the library of cladding loads for easy application of cladding self-weight.
Dead Load: Enter the additional dead loads (finishes etc.) in this field. ProtaStructure already has a library of additional dead loads. You can access the cladding load library by clicking the small button next to Dead Load field. The library editor is in Building Setout > Slab Additional Loads ribbon tab.
Live Load: Enter the live loads in this field. You can access a quick list of imposed load values by clicking the small button next to Live Load field.
Roof Live Load, Snow Load and Rain Load fields will be activated if the associated load cases are defined in the Load Combinations Editor.

You can open the load editor to verify the automated load assignment or assign new loads on the cladding.
If you have created user-defined load cases, you must use the Load Editor to assign loads to these load cases. The quick load assignment is only applicable for standard dead loads, live loads, roof live loads, snow and rain loads.
Insert Loads Using Edit Loads
In this dialog, you can assign loadings on claddings, such as wind loads, dead loads, live loads, etc by using Edit Loads.

Please note that load cases must be generated first. Read Load Combinations: Loading Generator for more details of generating load cases.
Video below shows the steps to assign loadings on claddings using Edit Loads :
- Select the cladding on the structure tree.
- Right-click on the cladding and select Edit Loads.
- You can choose coordinates system between Local or Global.
- Choose the direction that the loadings will be applied from.
If Local Coordinates System is chosen: The direction will be direction 1, 2 and 3.
If Global Coordinates System is chosen: The direction will be direction x, y and z. - Enter magnitude of the loadings.
- Select which part of the cladding that the loadings will be assigned to . The UDL load patterns will be shown on the assigned regions in the 3D view.

Zoom in the 3D view rendering of the load to confirm & verify the direction arrow of load is applied as intended.
Dead and Live load are gravity load & hence automatically in Global Z direction (Coordinate system & Direction is locked and cannot be edited).
Loadings can be assigned on claddings by:
- All Surfaces
- Groups
- Regions
- Individual Panel

For a video demonstration of this feature, click here : The New Cladding User Interface
You can also insert loads directly on purlins or girts using Edit Loads function. However, this method is more tedious as you will need to manually calculate the equivalent uniform or line load on each purlin or girt.